This week our post features, and is co-written, by Karyn Silverman of LREI.
We tend to think in binaries: analog
or digital, make
or buy. Professionally, there is a tendency to rely on outsourced solutions to save time/energy/sanity. But sometimes, a small paradigm shift is just what's needed to make pearls out of the sand in our shells. Applying a maker/hacker mindset to every day problem solving is the heart of that shift. You don't need to choose between high-tech and low-tech. Create your own middle ground: it solves the problem -- and it's fun!
You probably do your book orders online. Maybe you keep your list of books to order in a Word document or Excel spreadsheet, or maybe you are still analog and want a better system. What happens when you want your order list and your vendor interface side-by-side? Tab between windows? Clunky. Print out your order list? Waste of paper. Try to decipher scrawled pages upon pages of written lists? Aggravating.
Karyn Silverman, High School Librarian and Educational Technology Department Chair at LREI - Little Red School House and Elisabeth Irwin High School (perhaps you’ve heard of her --
Mock Printz, anyone?), was pining away for a solution for her book ordering conundrum: needing a physical list in front of her while she had her book order open on her computer screen.
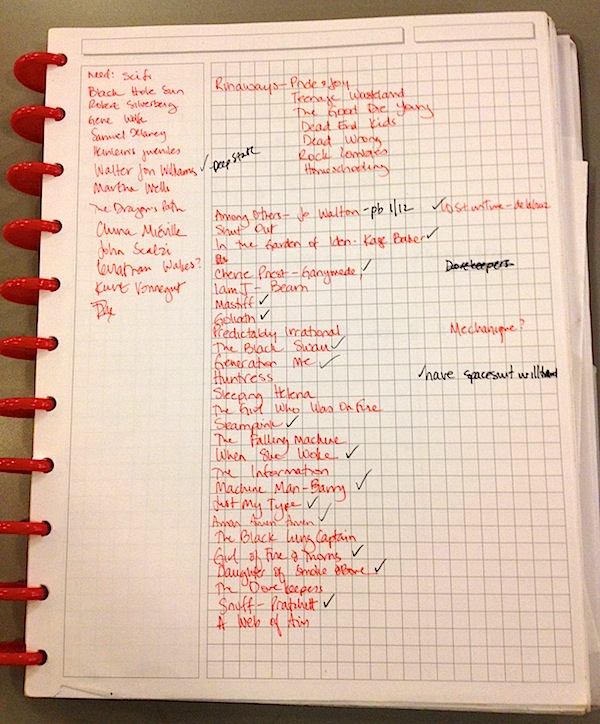 |
Karyn's book list solution; all
the information is there, but there
is a lack of systems thinking. |
What you may not know about Karyn is that she has a small obsession with the infinitely hack-able
Circa notebook system, which is pretty much
the analog tool for a digital world. (Earlier this year, we helped spearhead a DIY planner initiative with the Learning Specialist at LREI using this notebook system in an effort to convert all of our students.) But her current notebook just wasn’t right for the job.
So we put our heads together, and considered the
problem. We browsed the Circa refill options (and also checked the fully compatible Arc options from Staples), but nothing was right, because
basically what we were looking for was an analog version of a digital tool – a
simple spreadsheet with specific columns. Finally, she said, “[Expletive
deleted], let’s just MAKE it!”
Following the
age-old advice of Newsies, I said, “Okay, let’s do it.”
So we did!
Inte
rested in making your own hack, combining the best virtues of analog and digital systems? Here’s how we did ours, laid out step-by-step with some annotations on our process.
A note to the less maker-minded out there: making your own templates doesn’t take an advanced degree in design or a lot of technical skill. All you need is a word processor (we like Microsoft Word), paper, a printer, and a willingness to experiment with formatting options.
(A sense of humor and a partner in crime help, too.)
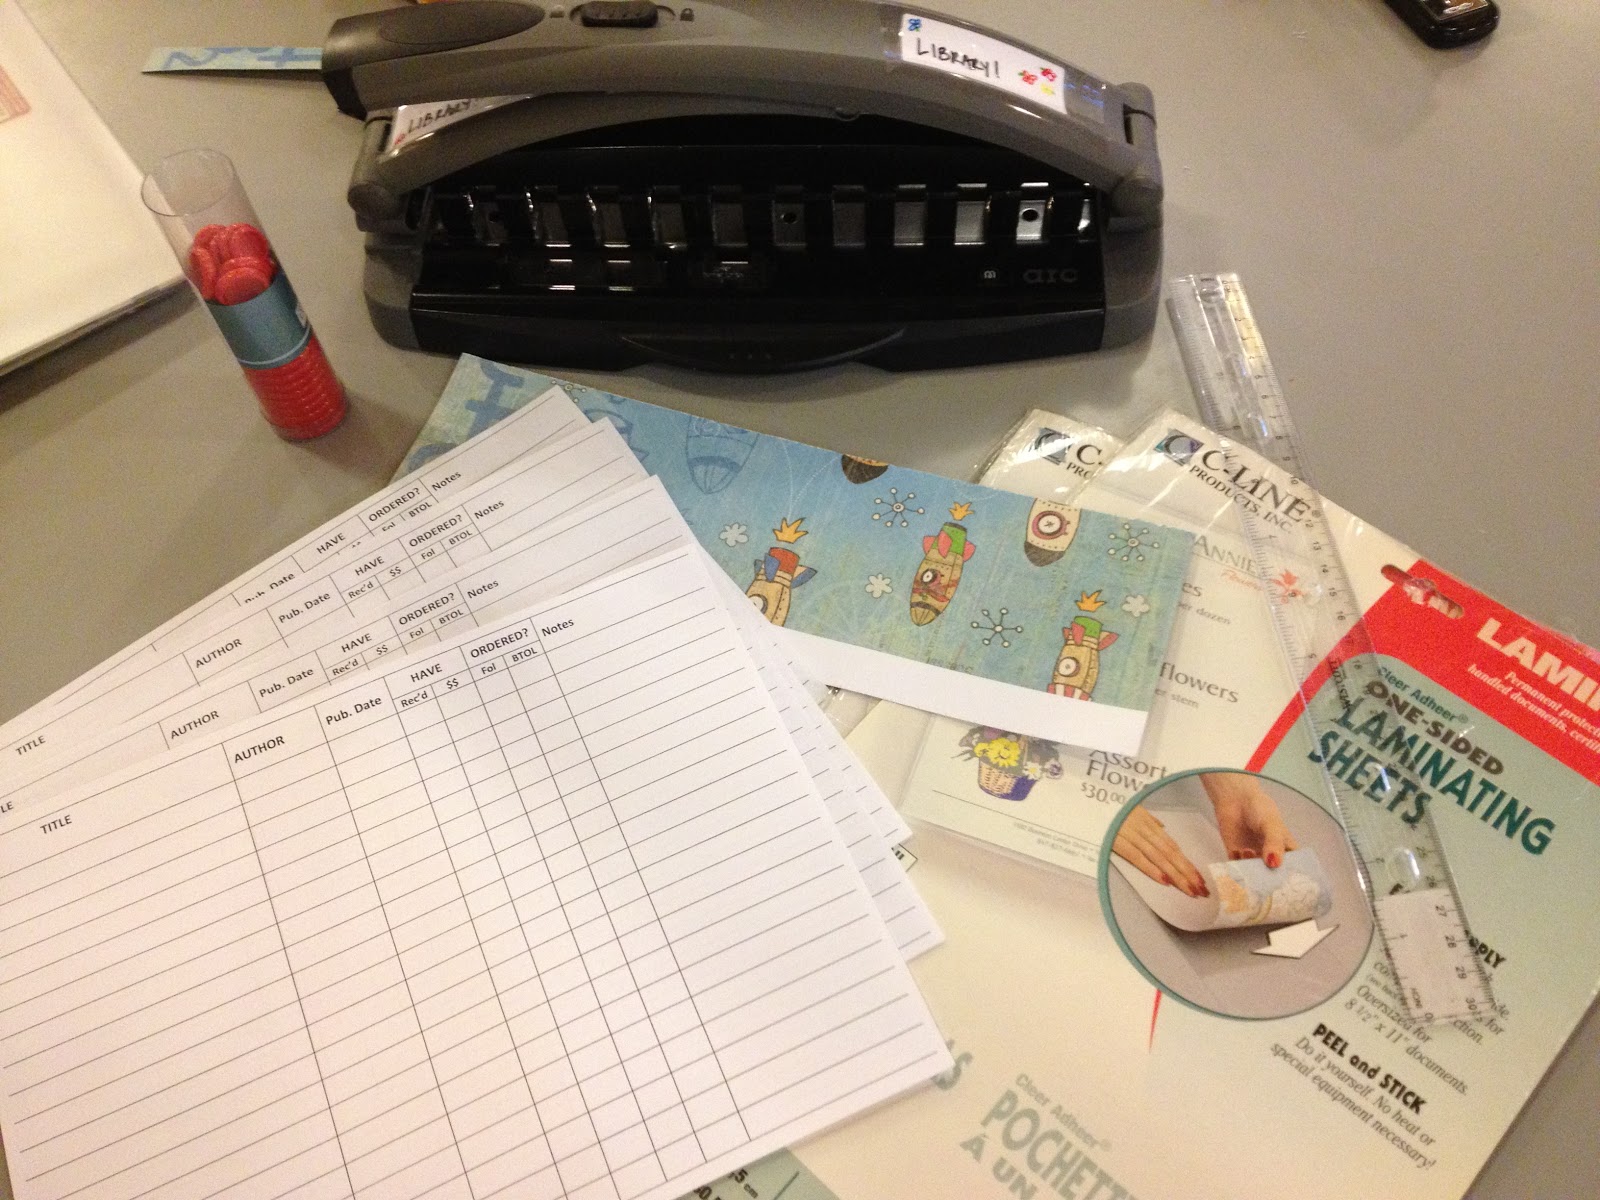 |
| Some of the supplies used for this project. |
Supplies and equipment you will need:
- Computer with word processing (we used a Mac Air with Microsoft Word 2011)
- Binding system (we used Levenger's Circa Discs and a Staples ARC hole punch; you could also use: binder clips, brass fasteners, or loose-leaf rings.)
- Paper
- Printer
- Heavier stock craft paper and laminating machine or thin plastic suitable for a notebook cover
- Scissors & Ruler
The process:
1. Sketch out a rough template on blank paper. Once your ideas are semi-formed, open your word processing program and start creating your template.
(The remainder of our template instructions will include Word-specific commands; adapt as needed if you prefer Pages or another program; we don't recommend Google Docs for this level of design.)
2. Go to File > Page Setup and set up your page orientation. We used landscape, because that enabled us to create a spreadsheet layout.
3. In the menu, go to Format > Document to set your margins. Before changing any of the numbers, click on Mirror Margins. This sets inside margins (closest to the notebook spine) to be a bit larger than the outside margins (closest to the edge of the notebook).
This is critical if you want to use every
possible bit of the page and still have room for a binding.
(Karyn and I actually decided on margins last, but in hindsight, this is best done before inserting a table to the page.) You can see our margins in the screenshot below:
4. Click on
Tables in the toolbar ribbon:
5. Click on
New and use the cursor to choose your table size.
We eventually ended up with 8 columns and 21 rows, but we
started out with a 8 by 8 table, because you can always adjust columns and
rows later.
We determined that we needed the following columns:
Title, Author, Pub date, Have (with sub-categories for received and purchased;
because of Karyn's blog, a lot of books come to us through channels other than
traditional book ordering), Ordered (with sub-categories for our two primary
vendors to enable easier tracking of ordered books), and Notes (with the idea that curricular connections, review sources,
or specific student or faculty names might be part of the data we wanted to collect and remember).
You may decide that you need your template laid out entirely differently, and that’s the point: making your own template means
that you control how your information
is organized. It’s the maker mindset!
6. Title your columns across the top row; shorter titles allow narrower columns.
7. Adjust the column sizing by hovering your mouse over any column line until it becomes a line with two arrows, then click and drag the line to the desired width or height.
In order to achieve sub-categories for the columns Have and Ordered, you can use the split and merge options in Table Layout. The functions work as advertised; split will split a single column or row, and merge will merge multiple columns or rows.

8. Add flair to your template by adjusting the palette. Add shading to your headers by clicking on Tables, and use the shading options under "Table Styles." Right click anywhere on your table, and choose "Table Properties" to change the style of the gridlines; we decided gray shading and the lightest possible gridlines was aesthetically pleasing and practical.
9. You can extend the left and right sides of the table off the page so that the lines extend as far as your printer will allow.
After A LOT of resizing, moving, font changes, and margin adjustment (and some wasted test pages), we ended up with this:
After a final test print of an inside and outside page, we printed the template double-sided onto higher quality paper and voilà. But wait! You’ll still want to bind it. And if
you also like a bit of zest in your office supplies, you’ll want to make a binding that
has a bit of style.
10. Cut beautiful paper slightly larger than 8 ½ x 11 paper. Laminate two pieces. These will be your front and back covers.
11. With the binding tool of your choice – ours was of course the specialty hole punch for Circa binding -- punch the appropriate edge of your covers and printed pages.
One of the initial challenges we faced was the desire for a notebook bound by the short edge. Short edge, top-bound notebooks exist (primarily legal pads), but we wanted a side-bound notebook laid out in landscape, something neither of us has ever seen commercially other than in photo albums.
Making our own binding allowed the notebook to be exactly what we wanted.
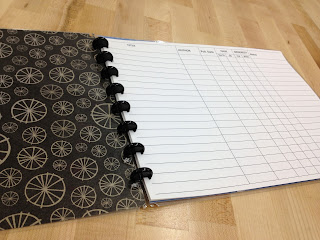
 |
| The finished product. Isn't the cover paper adorable? |
12. Assemble covers and paper, in our case, onto Circa rings.
13. Start using your new notebook!
This whole project took slightly over one hour (Karyn spent a large portion of that time carefully sifting through and then cutting cover paper; if you are less picky, the project time is dictated only by your table building skills, and those are pretty easy to acquire with a bit of trial and error).
During the creating process, a lot of our students came to investigate what we were doing, and were inspired to rethink their own organizational tools.
 |
| Fresh pages, waiting to be filled in! |
We hacked, we made, we taught. Win!
So what are you hacking, modding, or otherwise recreating? How does the maker mindset inspire or help you on a day-to-day basis?


